Jasmine Walls: Comic Writer and Artist
Written by Jasmine Walls, Illustrated by Amy Phillips
10 Feb 2016 Leave a comment
Jasmine Walls: Comic Writer and Artist
Written by Jasmine Walls, Illustrated by Amy Phillips
26 Feb 2015 Leave a comment
in collectors, customizers, hobbies Tags: asian ball-jointed dolls, ball-jointed dolls, bjd, bjds, doll, doll crafting, hardcap wig, human hair wig, wefted hair, wig, wigmaking, wigs
Hello, lovely readers! I hope you enjoy this tutorial/chronicle of my first human-hair wefted wig . . . and the efforts of both of my cats, who volunteered to help in its creation 🙂
I strongly suggest reading through all stages of both this tutorial and the two that are linked in the text, before you start your project. I’ve included a “lessons learned” portion that explains an error I made in construction, and I hope to spare you that bit of panic!
___
Supplies you’ll need:
6 feet of wefted human or synthetic* hair (I made this wig very thick and full, so you might be able to get away with less — I used about 5 feet, in the end — but it’s much better to have extra than to run out at a crucial stage.)
*Human hair can be styled with hot tools. Some synthetic hair will melt, so be sure you know the temperature requirements of any synthetic materials that you’re using. Hair that is advertised as “Heat-Resistant Fiber” is more likely to be safe with styling tools, although I still advise doing a test with a piece of weft before putting a ton of effort into the wig.
Aleene’s Clear Tacky Glue (for making the headcap — some people use other types of glue or silicone caulk-type material, it’s a matter of personal preference. Get the clear glue, not the white.)
Bohning Platinum Fletch-Tite Archery Glue (I used this on Looloo‘s recommendation, and was quite pleased with the results. I could have used the Aleene’s glue to secure the hair, as I have on previous wigs, but I think that the Bohning glue’s extra-strong layer of security worked better with the heavy, long wefted hair that I was using.)
Pantyhose material OR medical gauze (I use gauze — it’s cheap, easy, and I always have some around the house. When I was working in an office, I would have probably used pantyhose.)
Clear plastic cling wrap
Several thin rubber bands (I tend to use the clear silicone type, and I’ve actually found that the clear bands from Monster High packaging are perfect for this!)
Something to cover your doll’s body (can be as simple as a plastic grocery bag with a hole cut in it.)
I highly, highly recommend a mini craft iron — you can use a hair straightener for part of the process, but most straightening irons don’t open up terribly wide, and that makes it hard to get to certain areas of the wig.
Needle and strong thread (preferably in around the color range of the wig — black works for brunettes, white is fine for blondes.)
Sewing pins with large round heads
Scissors
Craft knife or box-cutter
Paper towels for cleanup — a bowl of clean water is also helpful for wetting the wefts and de-gunking your hands while making the wigcap.
If you use the Bohning glue, have some acetone and Q-tips available — it sticks to your hands in a way similar to Superglue (although less hard on your skin, and it doesn’t glue your fingers *together*), and the acetone, plus some scrubbing in warm water, will help you get it off.
Optional: Hair straightening iron or curling iron, for styling.
Optional: Styling products (I use TiGi BedHead Manipulator and a Frizz-Ease-type silicone serum, both in small quantities. A jar of BedHead can last me more than two years, even though I do a fair amount of wig styling.)
And, last but not least — you need a doll head, preferably on a body for ease of handling. These headcaps are custom-made for an individual doll, so it’s best to have either the doll you’re making the wig for, or the same sculpt, or at least a very similar one.
* * *
I basically use Enki‘s tutorial for making a wig cap.
The one variation is that I apply the glue and the gauze at the same time, and instead of running the rubber band across the doll’s face (all my custom wigs have been for dolls with face-ups), I hook it behind the ears, and run it under the chin to the other ear.
I then use another rubber band around the hairline area, to keep the material as flush as possible with the back of the head and forehead.
Of course, like an idiot, I forgot to take a picture of the rubber-band bit. If it’s unclear from the description, I’ll wrap up another head and demonstrate.
___
Undress your doll, and cover his/her body to protect it from glue (plastic shopping bag works fine.)
___
Wrap your doll’s head in plastic wrap, as above. I chose to use a double layer, since I’d been warned that some forms of archery glue can be a bit corrosive. (I didn’t find that to be the case with Fletch-Tite, FWIW.)
___
Follow the tutorial instructions for starting your wigcap.
When you have covered the plastic in the hairline area with glue and fabric, per the instructions in Enki’s tutorial, and you have smoothed glue into the fabric from above as well as below, let it sit overnight to dry.
When your headcap is fully dry, cut a rough hairline, again as per the tutorial above.
If you used a rubber band at the hairline, and it has adhered to the cap, snip and remove it as you are lifting the wigcap layer off the head, so that it doesn’t cause your wigcap to implode. (<— This is the voice of experience talking, heh.)
___
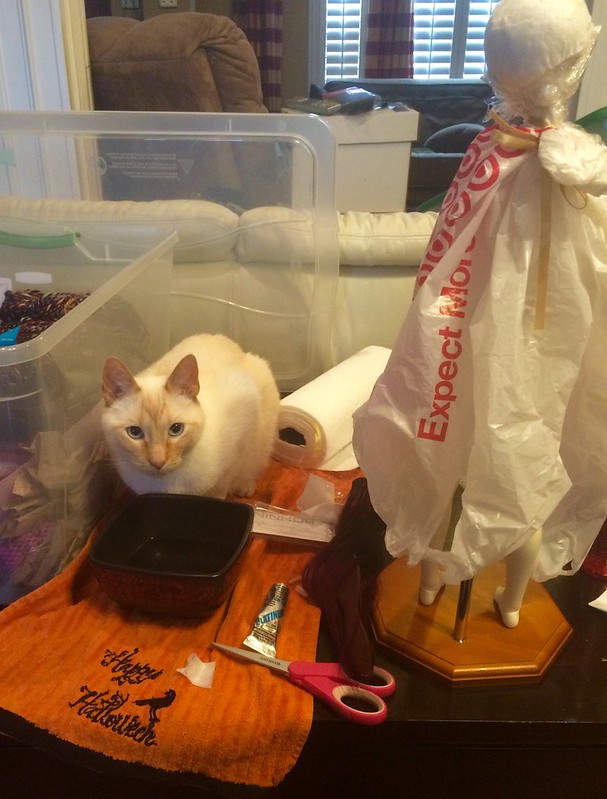
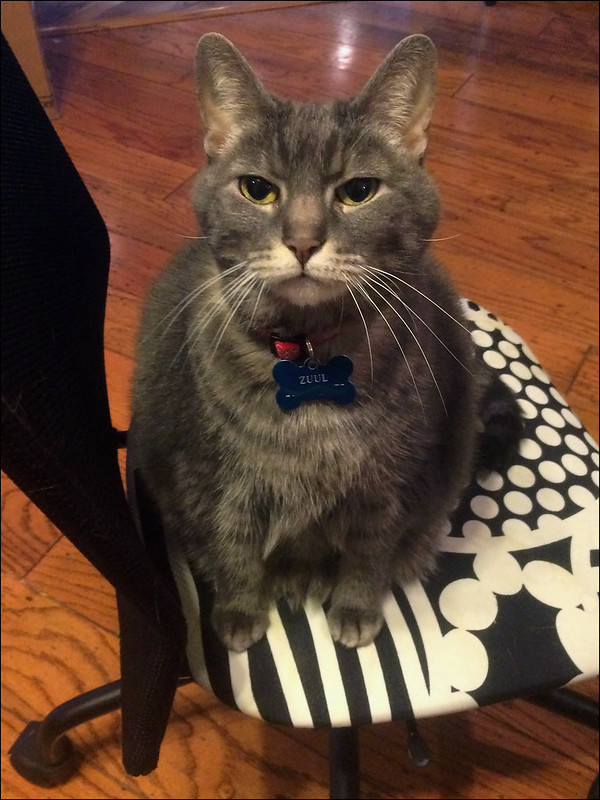
To keep this tutorial from being too academic, here is the first of several cat pictures.
(Dangerous stuff is sealed, and that's an unused bowl of clean water that I hadn't used to wash my hands yet — but I did move him once I took the photo!)
______
ADD A NEW LAYER OF PLASTIC WRAP TO YOUR DOLL’S HEAD — it will go underneath the stiffened wigcap that you’ve made. Put the rubber bands back on, so that the wigcap is set smoothly against the scalp.
______
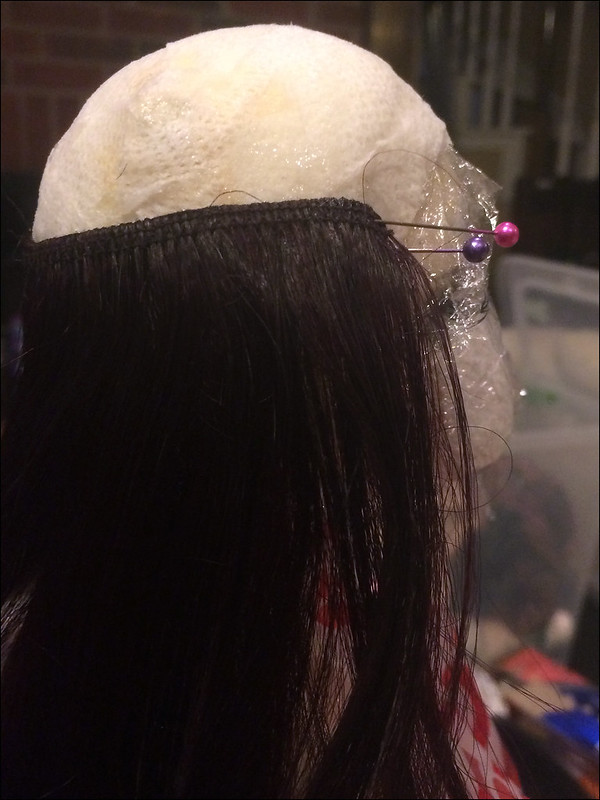
Following the bottom of the hairline at the back, add a generous line of Bohning glue along the path that you plan to set the weft. Add a thin line of glue to the “wrong” side of your weft (with the thicker stitching), and attach it to the wigcap.
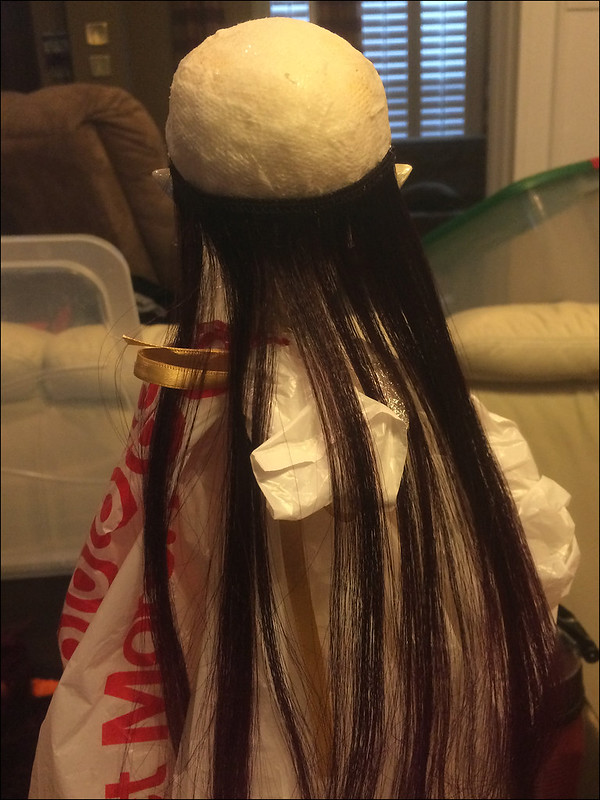
At that point, I discovered that the Bohning glue isn’t terribly adhesive when it is first applied (although it does dry quickly), so I used pins to secure the end of the weft. This photo shows two layers, carefully secured with pins inserted at the hairline, with the points angled away from the doll’s head.
___
Keep adding layers, stacking each one on the one below. Be careful not to get glue from previous layers into the loose hair of the layer above.
(As you can see, I used a HELL of a lot of hair for this wig — I wanted it to be super-lush and full. You can space the layers out a little more, if you want less hair in your final wig. Just make sure that if you’re doing a shorter style, you don’t leave visible gaps between the layers of weft.)
___
As you get to the top of the wig, it may start becoming difficult to get the weft to lie flat (you’re going from a C-shape at the bottom to a U-shape at the top, to what will eventually become a V-shape for the part.) I began trimming it to fit, and adding a small piece to create a squared-off center area.
___
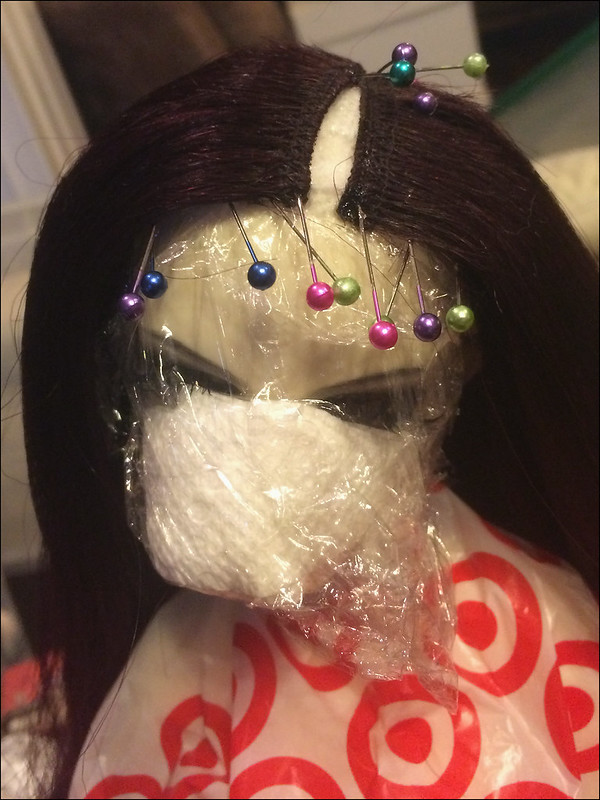
A brief interlude with one of the “Silent Hill” nurses:
___
Zuul is judging me for that remark. Also, she stole my seat.
___
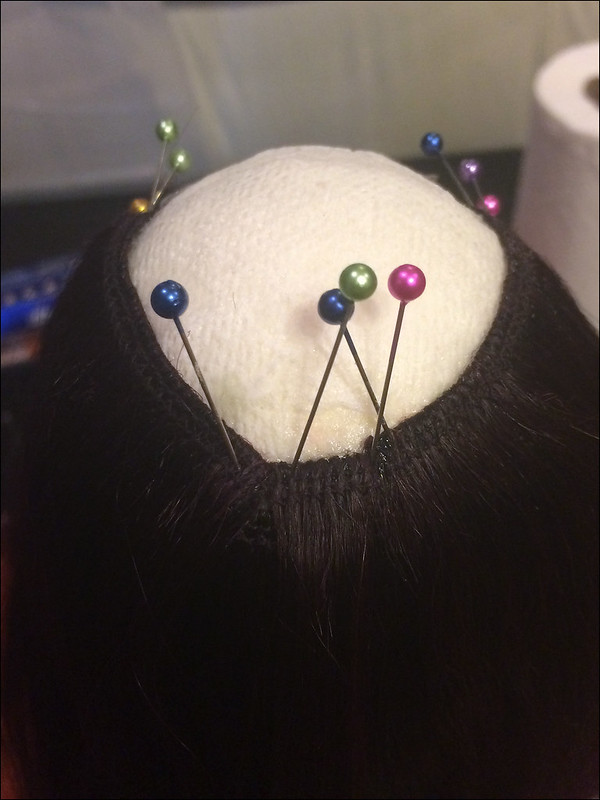
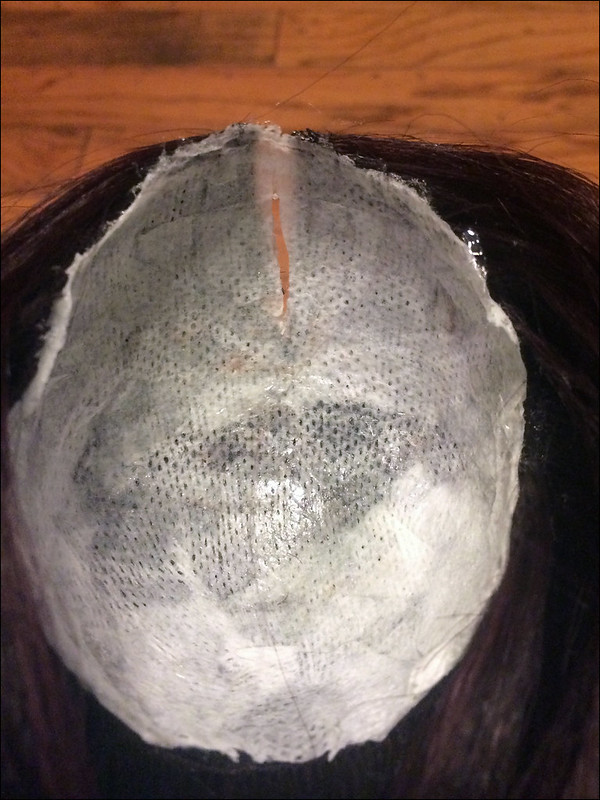
When you reach this point, take a pause to allow the glue to dry — doesn’t need to be more than 30 minutes.
The top of your wig should look similar to this — I cut one piece slightly too short, so I added a chunk of loose hair to cover the gap (not shown in this photo.)

___
While you wait, consider this fat cat.
Do not be fooled, however — while she appears to be begging for a belly rub, it is actually a trap. She will slam closed on your hand like a fuzzy beartrap, and you will BLEEEED.
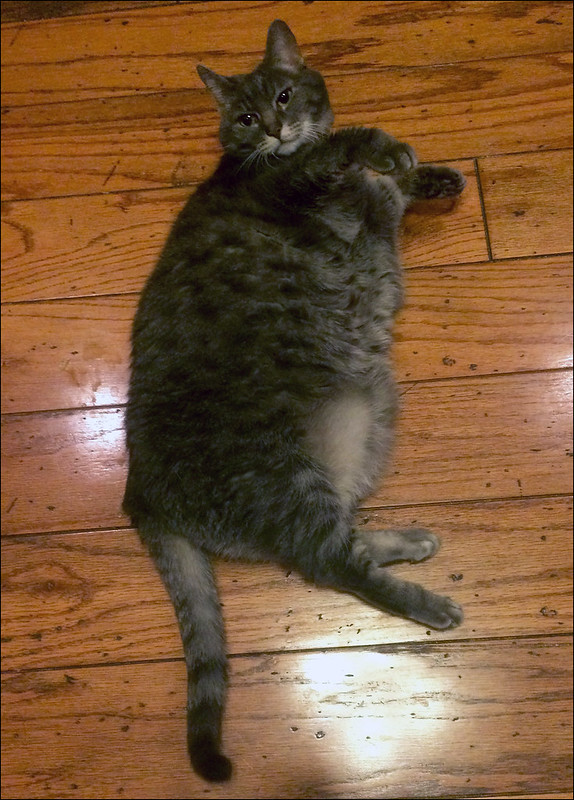
But she’s SUPER cute and soothing, isn’t she? (Just don’t touch. I want my lovely readers to survive to the end of the tutorial.)
___
Take your craft knife and cut a slit in the wigcap, going the length of the part, but stopping a bit before the front. You will want to widen it a little, because the weft itself has some bulk.
___
Insert a piece of weft through the slit, from the top. If the slit isn’t long enough, trim your weft or extend the slit (as you can see, this piece was a little too long to go through the original opening.)
If your weft has “baby hairs” near the stitching (mine did), push it through past the length of those hairs, or else you’re going to wind up with them sticking straight up like spikes in the parting line.
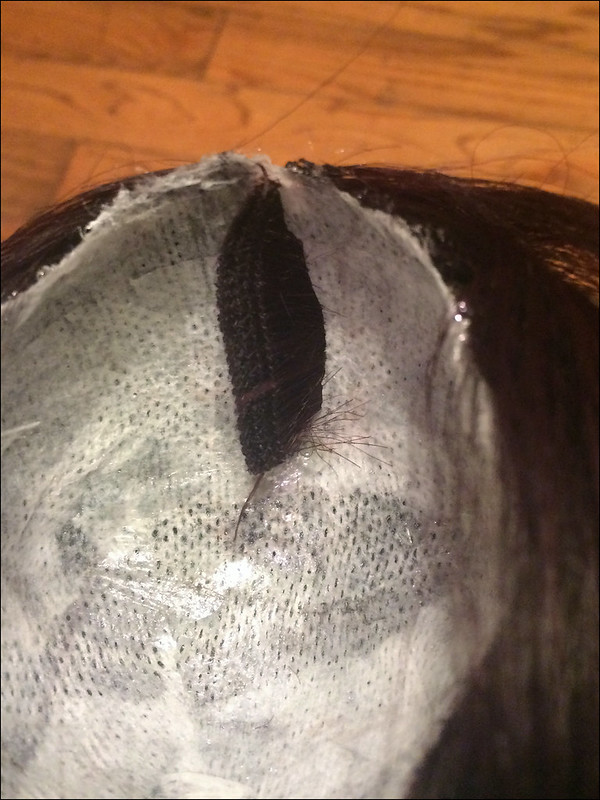
Insert another inward-facing piece of weft, which is going to be folded down to cover the opposite side of the hair. Your parting line should look like this:
Note: There is an alternate way to do the parting line, as du-hast‘s tutorial shows. I actually think I’m going to try their method next time, because it may avoid the piece of FAIL that I’m about to show you.
___
Because I needed more coverage over the top layer of weft, and while the above picture looks pretty good, the parting line was still fairly thin, I needed to add another pair of wefts to the slit. Unfortunately, I was having a heck of a time getting the hair to allow me to do that (the pieces of weft that I had glued in wound up instantly intermingling and wanting to fall over to one side), so I decided to extend the slit all the way to the front.

That solved my coverage problem, but created another issue — I had initially planned on gluing a piece of fabric underneath the two halves of the part, but they simply wouldn’t stay together, even with glue and pins. I was worried that I had pretty much ruined the wig.
That’s where the needle and thread came in — I stitched the wig together at the part, which did the trick. Use doubled thread, tied at the loose ends, and pull your needle through the loop so that each stitch is a knot. Double-knot it all along the length of the part, so that it is securely attached.
At this point, the wig was messy but whole.
Trim any excess wigcap material that is still visible at the edges. Insert a little bit of loose hair on any patches that need coverage.
I also usually insert two “sideburns” pieces on the inside of the wig, right in front of the doll’s ears. That’s an area that many commercial wigs don’t cover, and I have found that it looks prettier and more natural to have some hair that closely frames the face in that area.
___
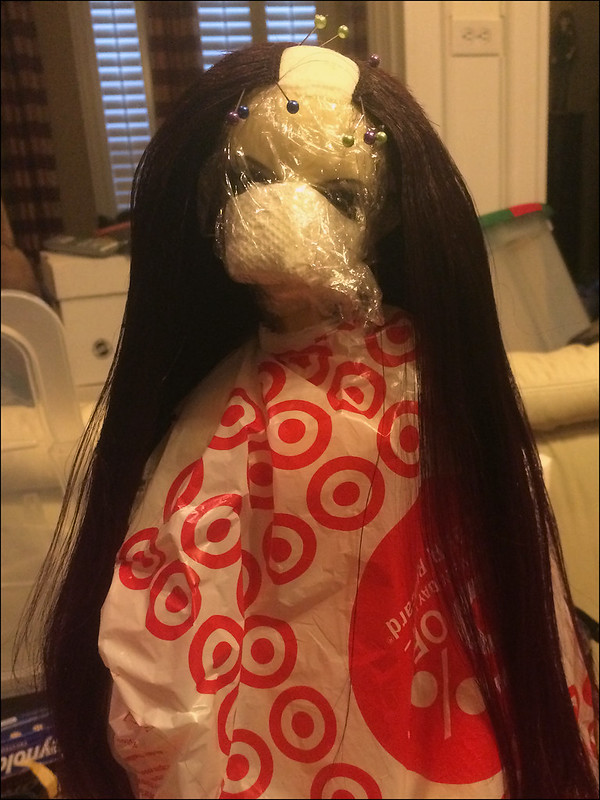
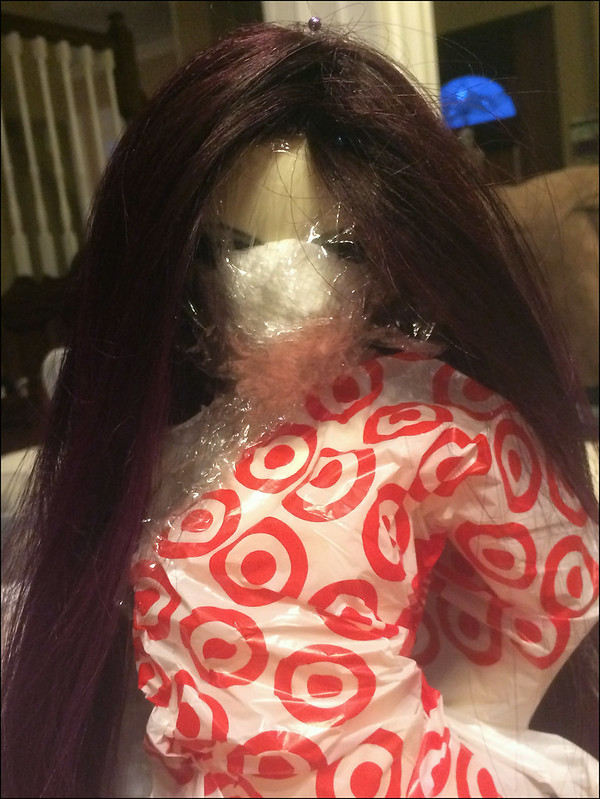
Use your flat-iron/curling iron to begin smoothing the hair. Add some product, if you’re going to use it — this is what the wig looked like after I had used a small amount of Frizz-Ease and had made a few passes through it with BedHead Manipulator rubbed on my hands.
As the saying goes, “a little dab’ll do ya,” seriously. Don’t over-product — especially not near the face. While I’ve used these products for many years to tame messy wigs, I’m always careful to keep them off the face-up, and I can’t guarantee that they might not damage a face-up if you get a gob of product on the face and don’t immediately remove it with a wet cloth.
Note that the wig is still not smooth at the crown — it’s hard to get that area between the plates of a flat-iron/hair straightener.
This is where the craft iron comes in — remove the wig from your doll’s head, fold up a washcloth inside (so that you can protect your fingers, and so that the wigcap retains its shape), and iron the crown until the hair lies smoothly. Don’t scorch it — better to make a few passes on low/medium heat, than to fry the wig you’ve worked so hard on!
___
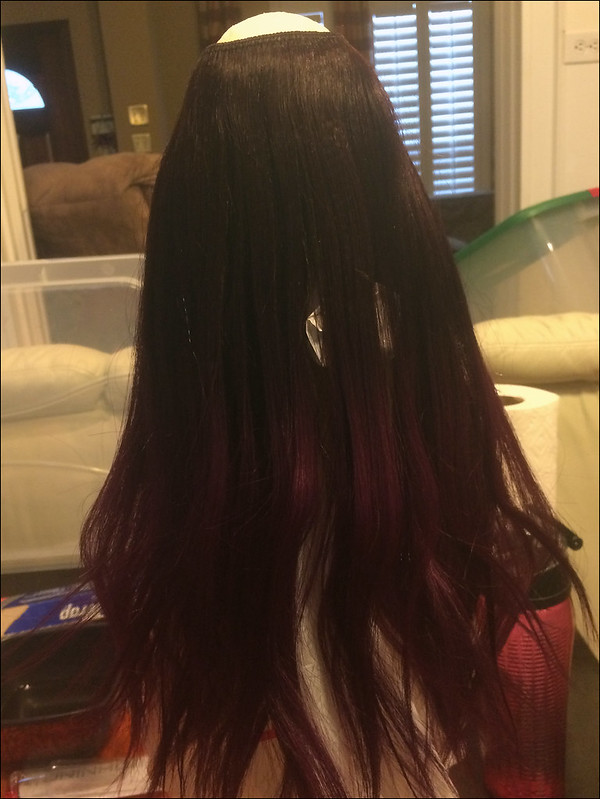
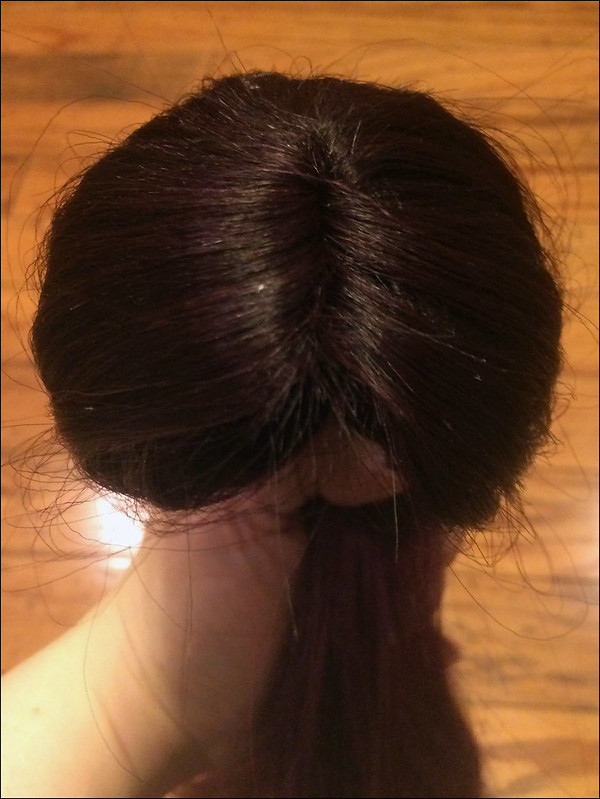
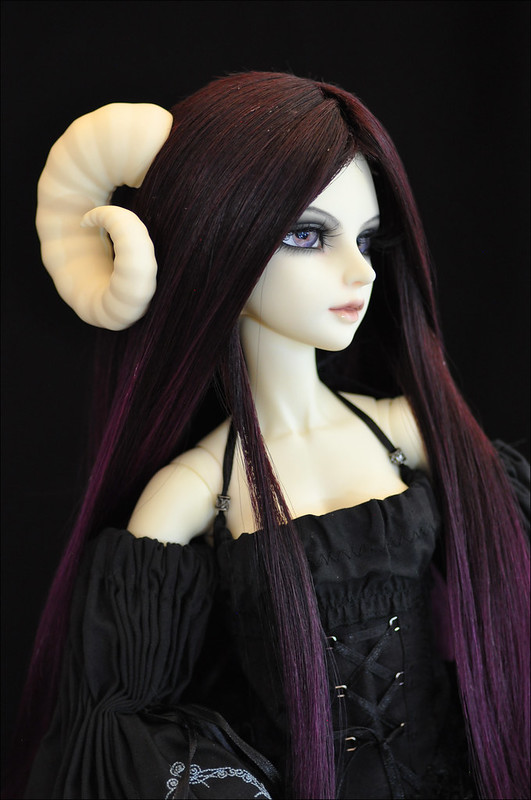
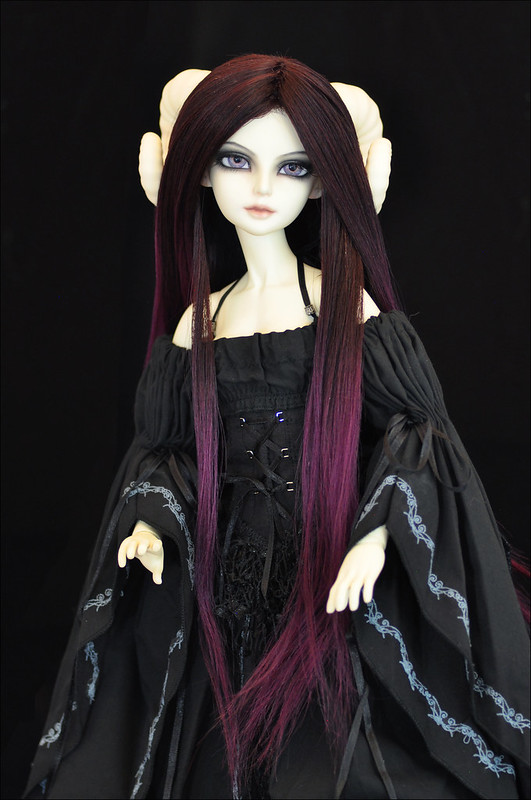
When you have ironed the crown, done any styling you want to do with the flat-iron or curling iron, and added any product you plan to use, your wig should look like this:

Note that the crown is not perfectly smooth/flat at the front parting line — if I hadn’t cut the slit and had to stitch it shut, that wouldn’t be an issue. I think it still looks good, especially for my first try using this method.
___
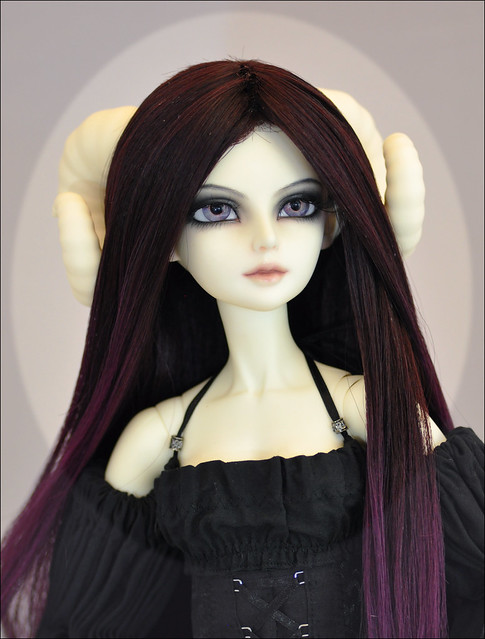
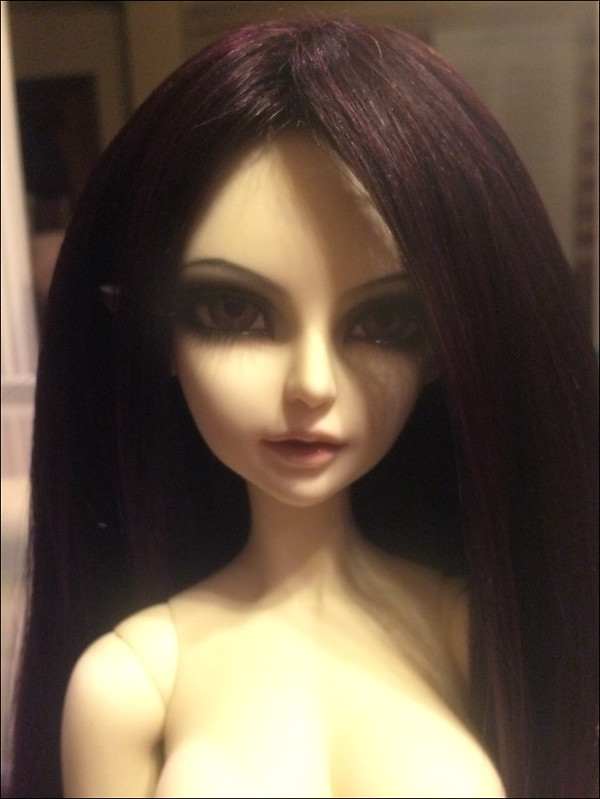
Last step: Enjoy your doll’s luscious custom locks!! 😀
_________________________
Resource corner — here are all the hardcap wig tutorials that I’ve personally found to be helpful. Each of them has useful information and slightly different techniques, and it’s a good idea to read through them and figure out which one/s are going to be best for the type of wig you want to end up with.
Andreja has a great step-by-step angora-wig tutorial here (including making your own glued weft), and if you’re someone who prefers learning by video (I’m a written-word person myself), she also posted a video tutorial.
Enki: http://www.denofangels.com/forums/showthread.php?571784-Crafting-Your-Own-Custom-Angora-Wig-(-A-Tutorial-) (on Den of Angels)
du-hast: “how to make a parting hair line (part 2 of the wig making tutorial)” (on Den of Angels)
MadamMauMau: “Hard cap wigs for small heads” (on Den of Angels)
~:Toshi:~: “Quick tutorial on how I make hard cap wigs” (on Flickr)
Beansproutmomo: “Beansproutmomo’s Wig Tutorial, Part One (link is to large, legible image on Flickr), and Part Two.
Ashgutz: “How to make a doll wig cap.” (on DeviantART)
du-hast: “how to make a wig that won’t fall off your oddly shaped dolls head!” (on Den of Angels)
Looloo: “Natural hair wig making” (on Flickr)
Please feel free to suggest additional tutorials, if you find one that you like! 🙂
My thanks go out to everyone who has been kind enough to share their work and knowledge/experience — I couldn’t have done it without them!
